How To Clean Install Windows 8 or 8.1 (Part 2 of 2)
1.Wait While Your Computer Restarts Automatically

This is the beginning of Part 2 of 2. If you need to, you can go back to the previous step located at the end of Part 1.
This screen only shows up for a second, maybe less, so you may not even see it, but as you can see in the screenshot above, Windows 8 setup says Restarting your PC and then promptly does just that. This is the second, and final, restart required during a Windows 8 clean install.
Note: Just as I warned you about several steps back, you’ll probably get that Press any key to boot from… option again as your computer turns back on, but don’t do it. You don’t want to start the Windows 8 installation process over again, you want to boot from your hard drive, which now has an almost-complete installation of Windows 8 on it.
2.Wait While Windows 8 Starts Up
Once again, you’re waiting on Windows 8 to start up. This should only take a minute or two.
You’re almost done waiting through boring black screens, I promise!
3. Wait for the Windows 8 Basics Wizard to Start

The next screen you see is an introduction to a wizard you’re about to complete that helps customize Windows 8 to your preferences.
Four sections are shown, including Personalize, Wireless, Settings, and Sign in.
This screen only appears for a few seconds before automatically progressing to Personalize.
4. Pick a Color Theme & Name Your PC
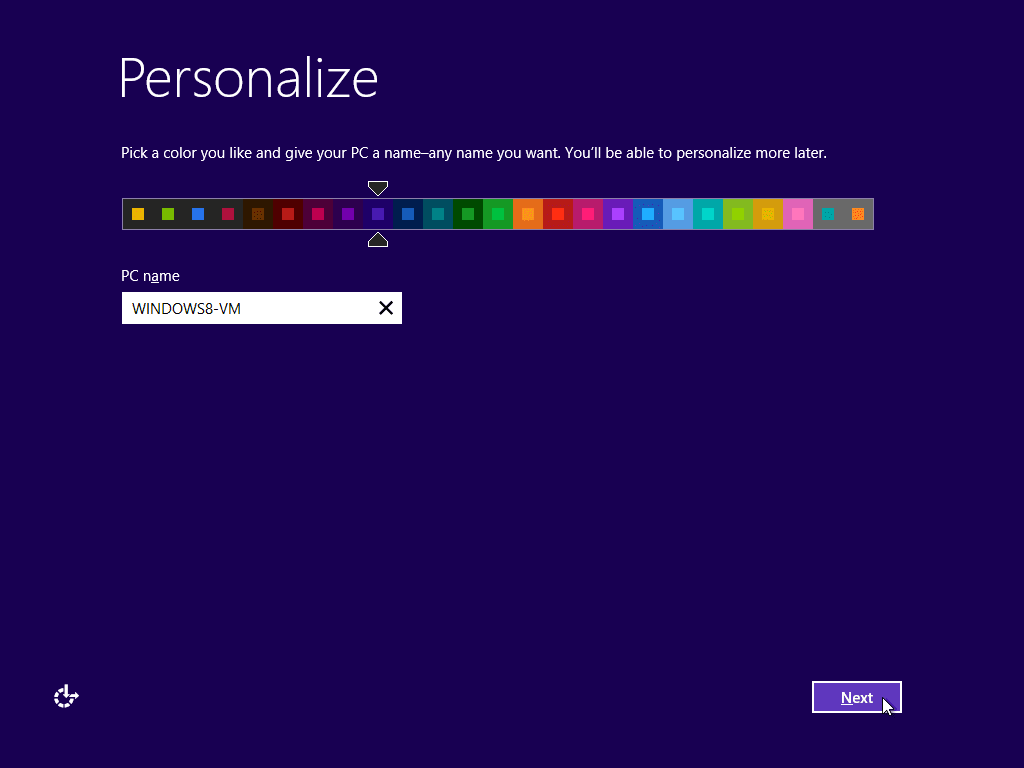
Two pretty simple options are presented on the Personalize screen: one for color you like and another for PC name.
The color you choose helps shape the display on your future Windows 8 Start Screen, and in some other areas of Windows 8. This is easily changed later from the Start screen area of PC settings so don’t get too caught up on this one.
The PC name is just a friendly phrase for hostname, the name that identifies this computer on your network. Something identifiable is always good, like timswin8tablet or pcroom204… you get the idea.
Touch or click Next when complete.
5.Join a Wireless Network

On this screen (not shown, I’m working on getting a good screenshot of this step), choose from the list of available wireless networks that Windows 8 sees at the moment.
Once chosen, enter the password if the network is encrypted and requires one.
Click or touch Next to continue.
Note: You will not see this step if your computer does not have wireless network capabilities or if Windows 8 does not have an included driver for the wireless hardware and so wasn’t able to enable that device. Don’t worry if the latter is the case – you can install the correct wireless driver for Windows 8 after the clean install is complete.
6. Use Default Settings or Set Custom Ones

On the Settings screen, you have the option of accepting Microsoft’s recommended default settings for Windows 8, which are detailed on screen, or customizing them to your preferences.
For the most part, I see no problem accepting the express settings.
Click or touch Use express settings to continue.
Note: If you’d like to explore your options, you can click Customize and walk through a series of additional screens with settings for network sharing, Windows Update, automatic feedback to Microsoft, and more.
7.Sign In To Your PC With a Microsoft Account… or Don’t

The next screen is the Sign in to your PC step.
You have two pretty big options here for how to sign in with Windows 8:
Sign in with your Microsoft account
If you already have an email associated with a major Microsoft service then you can use that here. If you don’t, that’s OK, enter any email address and Microsoft will create an account for you based on that email address.
The advantage of using a Microsoft account is that you can easily use the Windows Store, you can sync major settings between multiple Windows 8 computers, and more.
Sign in with a Local account
This is the standard way that previous versions of Windows, like Windows 7, Windows Vista, and Windows XP worked.
Your account is only stored locally on this Windows 8 computer. Please note though that you’ll still need to create a, or use your current, Microsoft account some time in the future if you plan on using the Windows Store to download apps.
My recommendation is to use your existing Microsoft account or create a new one.
Assuming you decide to do that, enter your email address and then click or press Next.
The next several screens (not shown) will verify your account, ask for your password, and may ask for a telephone number or other information to help with password recovery. If you’re setting up a Microsoft account for the first time, you may see some other screens as well. If you’re signing in with an existing account, you may be asked to confirm a code sent to your email or phone, copy settings and apps from other Windows 8 computers, etc.
8. Accept SkyDrive Settings

SkyDrive is Microsoft’s online storage service and is integrated into Windows 8, making it easy to keep your settings and saved files like documents, photos, and music, securely backed up and available from other devices.
Touch or click Next to accept the default SkyDrive settings.
Note: You’ll only see this SkyDrive settings page if you’re installing from Windows 8.1 or newer media.
9. Wait While Windows 8 Creates the Local Portion of Your User Account
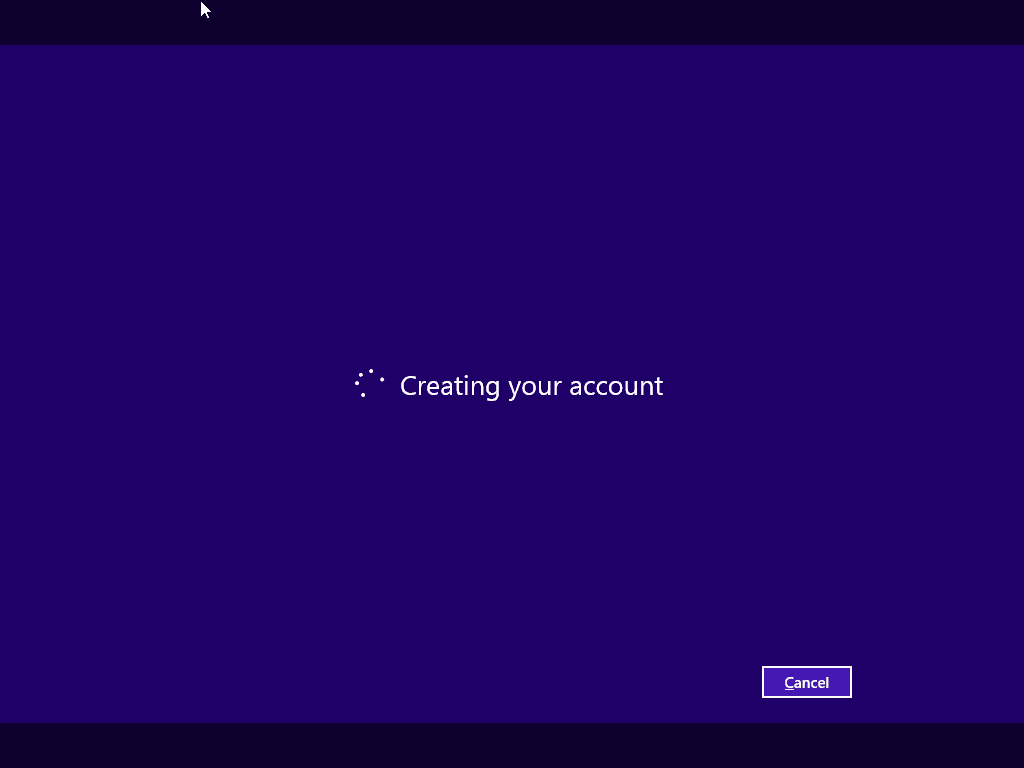
Even though you may have chosen to create, or use your current, Microsoft account, there is still a local account created to help facilitate that.
This is what Windows 8 is doing while the Creating your account or Setting up your account message is on screen.
10. Wait While Windows 8 Finalizes Settings
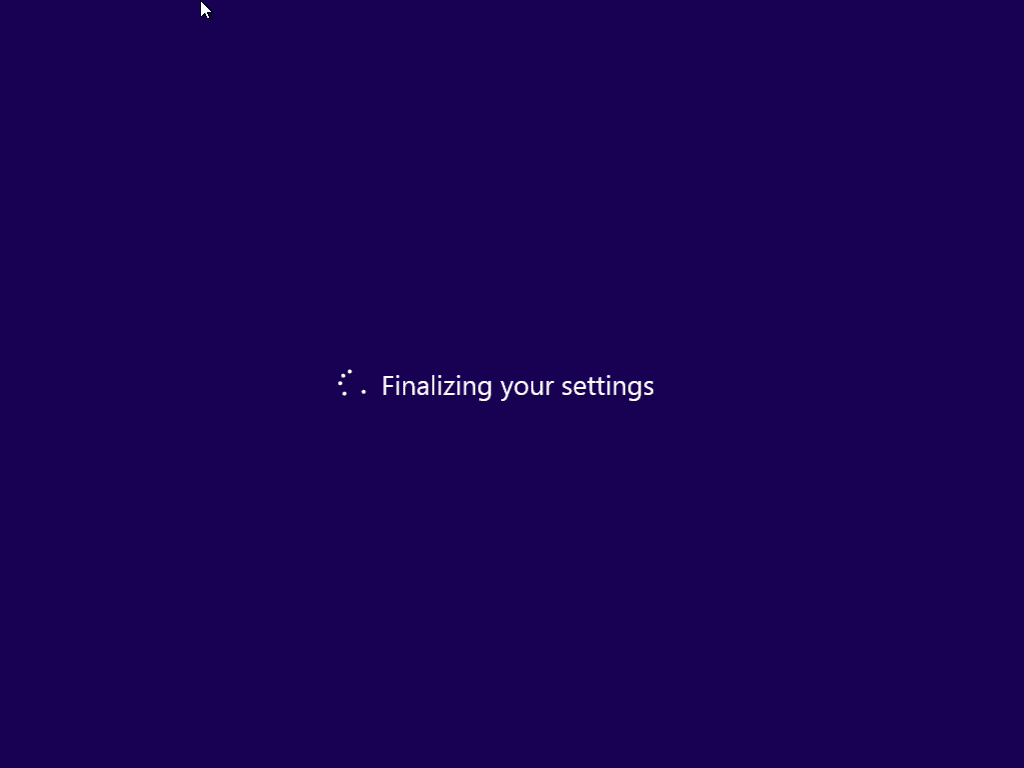
Remember all of those personalization and other settings you just made? Windows 8 is now committing those to your user account it just created.
Just wait during this short phase.
Your Windows 8 clean install is almost done… just a few more steps.
11. Wait While Windows 8 Prepares the Start Screen
Depending on the version of Windows 8 you’re installing, you may sit through a long series of screens, the first several of which explain how to work with the Windows 8 interface.
That, or maybe you’ll see some large messages in the middle of the screen. The background will continually change colors as this progresses and you’ll see Installing apps at the bottom of the screen.
Regardless, this whole series of screen changes and messages should only take a few minutes, at most.
12. Your Windows 8 Clean Install is Complete!
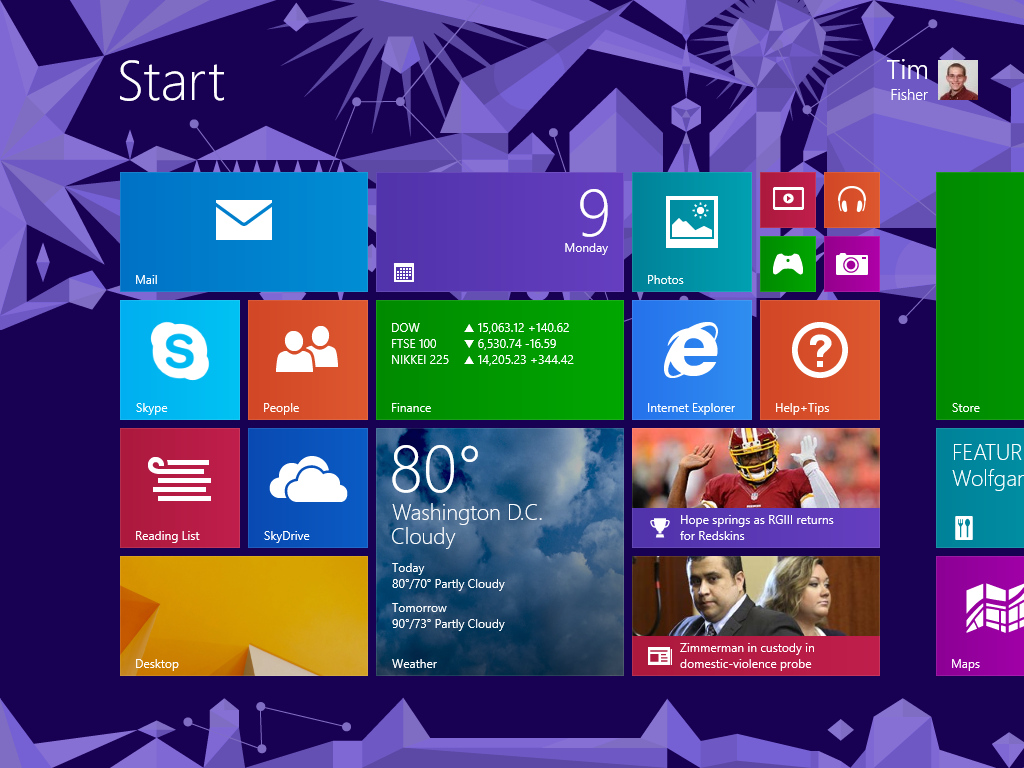
This completes the final step of your clean install of Windows 8! Congratulations!
What’s Next?
Most importantly, if you chose not to enable automatic updates (Step 26) then the first step after installing Windows 8 is to head to Windows Update and install all the important service packs and patches that have been issued since the version of Windows 8 you just installed was released.
If you did enable automatic updates, Windows 8 will prompt you about any important updates needed.
See How To Change Windows Update Settings in Windows 8 for a little more on your options with Windows Update in Windows 8.
After Windows updates, you should update any drivers that Windows 8 didn’t automatically install for your hardware during installation. You might also want to update drivers for any devices that don’t seem to be working correctly.
See How To Update Drivers in Windows 8 for a complete tutorial.
You might also want to see my Windows 8 Drivers page which contains information and links to Windows 8 drivers from some of the more popular computer and device manufacturers in the world. This is an especially helpful resource if this is your first Windows 8 clean install and you’re locating Windows 8 drivers for the various parts of your computer for the first time.
I also highly recommend that you create a Windows 8 Recovery Drive, a flash drive that you can use to troubleshoot problems in the future, even ones where Windows 8 won’t start at all. See How To Create a Windows 8 Recovery Drive for instructions.
Finally, if the installation media that you installed Windows 8 with did not include the Windows 8.1 update (it will say on the disc or in the ISO file name), then you should update to Windows 8.1 next. See How to Update to Windows 8.1 for a complete tutorial.
Posted on February 2, 2014, in Uncategorized. Bookmark the permalink. Leave a comment.

Leave a comment
Comments 0